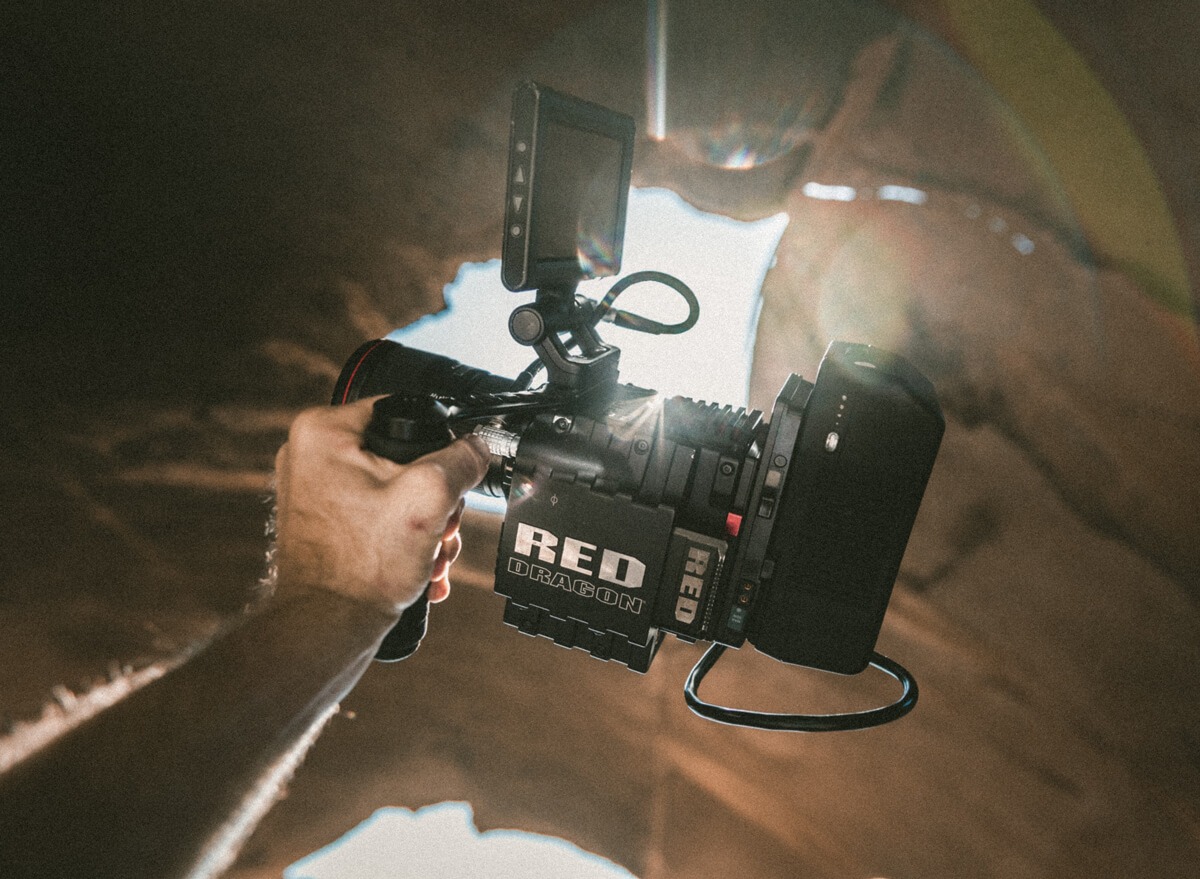
As you know, awesome photography for your social media presence is crucial! Are you more likely to “like” a darkly light, overly contrasted smartphone shot, or a gorgeous professional-level photo with a creamy, blurry background and smooth lighting? The latter, of course! Using a DSLR (and using it right!) can be a bit overwhelming, though; we know.
However, we can help you get to those amazing snaps in just a few quick steps. You’re likely taking similar shots over and over, so let’s focus in on the systems that will support us in those situations.
Step away from auto!
It might seem like Auto mode is the easiest approach, since the camera should know what it’s doing, right? Well, unfortunately, we haven’t had a brand guide session with your camera, so it will frequently over- or underexpose a shot, blow out a background, set too much in focus, etc. Don’t worry; I’m not going to ask you to set things to Manual (though you’d love it, I promise!), but turning that dial away from Auto is the first step to great shots.
Set your camera mode to Aperture Priority.
A quick note on how cameras work: the aperture refers to how wide (or not) a hole in your camera opens to allow light into the camera’s sensor.1 Aperture also impacts how much of your photo is in focus, and it’s measured in f-stops. A “wide” aperture is a lower number, like f2.8, and will translate into less of your photo being in focus. A “narrow” aperture is a higher number, like f11, and most of your shot will be in focus. There’s another element to this concept–bear with me!–and that’s distance. If you’re right up on top of your subject, less of your shot will be in focus with a wide aperture, a low f-stop number. However, generally speaking, from the typical distance from which you shoot patients, a wide aperture (low number!) will get their entire face in focus whilst blurring the background beautifully. All of that to say this: set your camera to aperture-priority mode and turn the aperture down around f3 or so. You should notice an immediate increase in the quality of your portraits this way.
Shoot in RAW.
Another technical concept, but you can typically shoot either RAW files or JPEG files. JPEG files come compressed, ready to go and upload, but you are adding your edits on top of this compressed file when you shoot in JPEG. RAW files essentially let you make changes to your shots natively, almost like you’re making adjustments in the camera. Shooting in RAW is not absolutely necessary, and you can produce some beautiful photos by shooting in JPEG. However, shooting in RAW changed my entire photography practice, and I highly recommend it. It’s important to note, however, that you can’t upload a RAW file (the extension is .CR2) without editing it first and then exporting it as a more program-friendly filetype, like a JPEG. So…
Edit your photos!
Very rarely do I share photos without editing, but that doesn’t mean I’m doing facelifts in Photoshop. Usually, I’ll just add in some contrast, adjust the exposure a bit, decrease the blacks (this will deepen the black tones, rather than lightening them), and make any other shot-specific changes I need to make. You don’t have to do much, and you can often save your regular edits as a preset to apply to future photos very quickly.
Watermark those bad boys.
I have my photos stolen regularly, which I usually take as a compliment (and sometimes take as an annoyance!), but watermarking can help. If you have a copy of your practice’s logo, load it up into your photo-editing software and apply it when you export your shots. You can also use programs like iWatermark Pro to help.
We know that’s a lot of info, and we know it can be overwhelming! However, we’re here to help. Email or text us with any questions at all, and if you want to set up a call or video conference to nail down some camera settings or angles, we’re here for you! Feel free to email us at [email protected] or call/text us at 901-481-5069. Get in touch anytime.
We’ll be sending more content about photography soon–including lighting, backgrounds, etc.
If you’re really interested in improving your photography, here’s quick rundown on aperture. Aperture is part of the “exposure triangle”, or how your camera’s sensor receives light from either 1. Aperture 2. Shutter speed (how quickly the shutter opens and closes directly impacts how much light is allowed to flood in and reach the sensor) and 3. ISO, your camera’s sensitivity to light. Don’t worry; there won’t be a quiz!
